Recreate this Look: Gilded Ombré
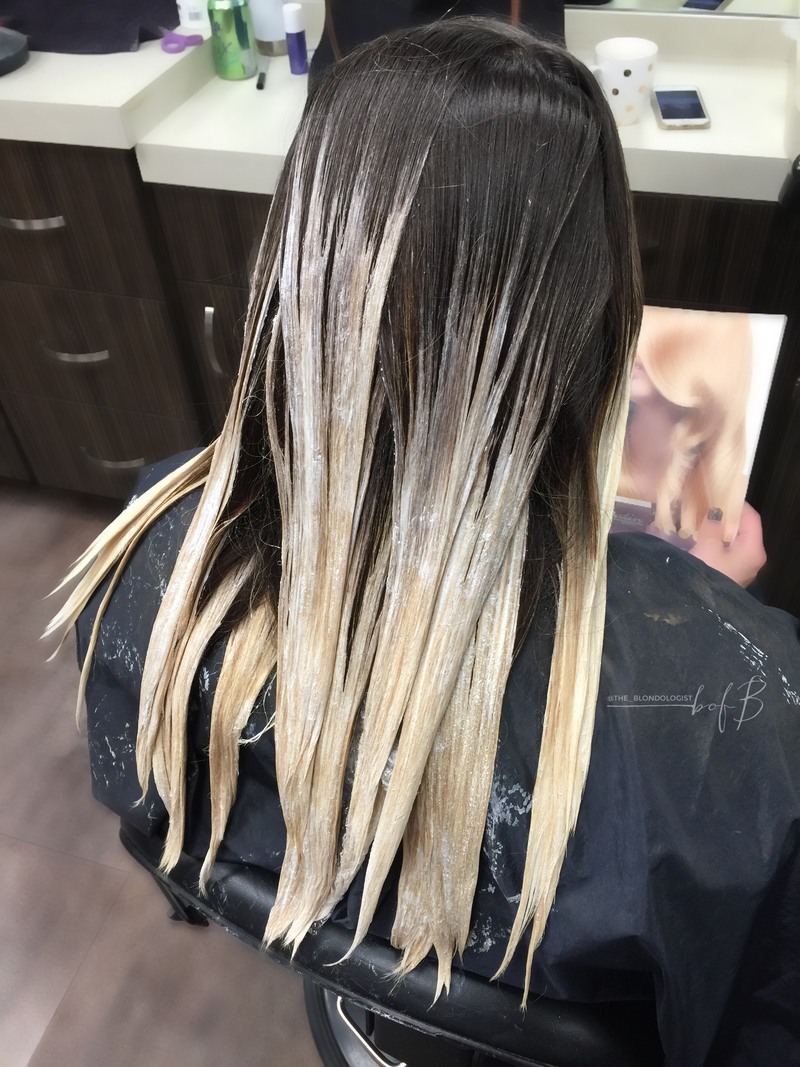
Over the course of three appointments, Ashley Lewis, @the_blondologist, from Nest Hair Studio in Richmond, has been strategically transitioning her long-term client Kristina Wade’s color into this bright balayaged ombré. In this how-to, she shares her last stage color formulas along with an image of her placement to help you recreate this color service on your client.
Client Notes:
Age: 32
Hair Length: Long
Hair Texture: Normal
Products Used:
Wella Blondor Freelights Powder
Wella Blondor Freelights Developer
EuforaColor No Ammonia
Eufora International Developer
Eufora Artisan Shades Direct Dye
Eufora Nourish Beautifying Serum
Eufora Style Sculpture Glaze
Eufora Style Illuminate Shine Mist
Eufora Formation Whipped Styling Solution
Tools Used:
Color: Framar Bowls/Brushes/Foils
Style: Blow Dryer (Elchim 8th Sense), Flat Iron (HotTools 1 ¾-inch), Large-Toothed Comb, Flat Brush.
The Color:
Color Formula 1: Wella Blondor Freelights Powder + Eufora Artisan Shades Direct Dye Purple (just a small dot) + Wella Blondor Freelights Developer 40vol
Color Formula 2: Glossed (roots and mids) with EuforaColor No Ammonia 6NA + 8GV + Eufora International Developer 7vol
Color Formula 3: Gloss (face-framing and ends) EuforaColor No Ammonia 8NA + 8AA +10GV + Eufora International Developer 7vol
After color processes, rinse and shampoo/condition with products of your choosing.
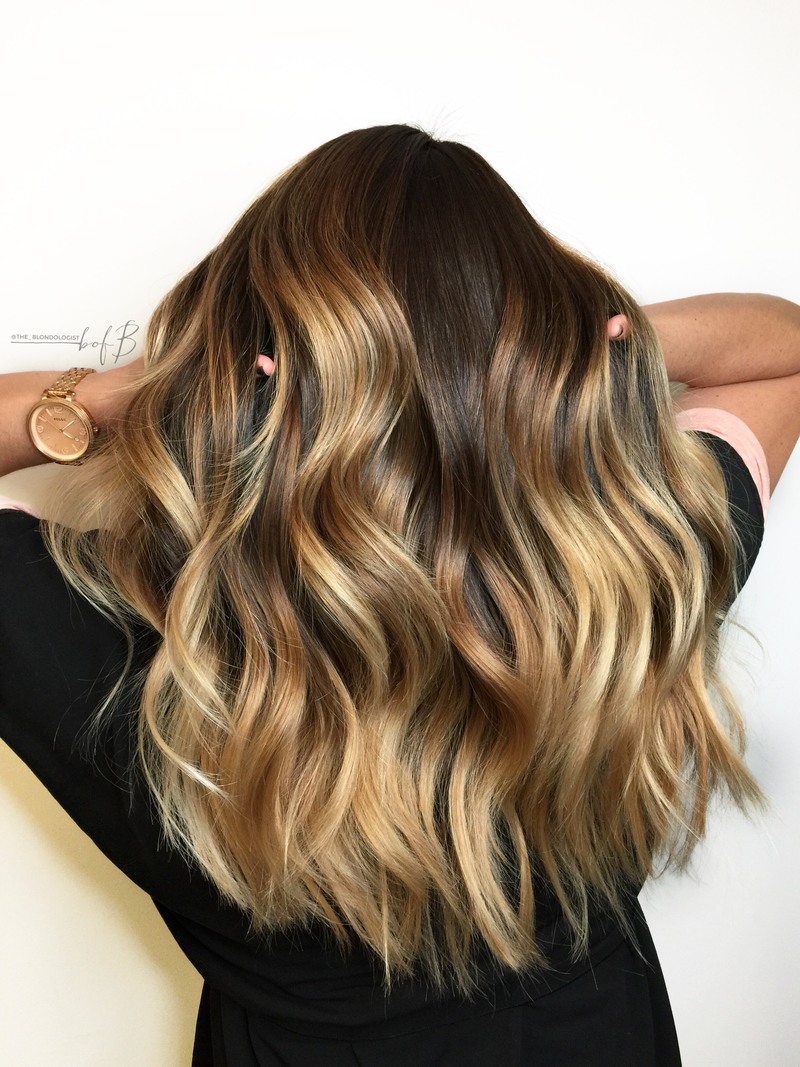
The Style:
To achieve these softly sculpted waves that accentuate and show off this lovely painting and placement, Ashley performed the following steps:
Step 1: Apply about a quarter-size of Eufora Nourish Beautifying Serum from zone two to zone three and comb through with fingers.
Step 2: In hands, cocktail together a nickel-size of Eufora Style Sculpture Glaze with five pumps of Eufora Style Illuminate Shine Mist and apply through zone one to zone three then comb through with a large tooth comb.
Step 3: Using about a half-dollar size of Eufora Formation Whipped Styling Solution, break down the foam into liquid in your hands and then apply throughout the hair and comb through.
Step 4: Blow dry starting at nape until the roots are 85% dry and ends are just damp.
Step 5: Finish blow-drying using flat brush.
Step 6: Curl 1 to 2-inch sections of hair using a 1 ¾-inch curling iron.
Step 7: After curls have cooled, brush out using flat brush.
Step 8: Take fab pics!
About Ashley Lewis:
A self-proclaimed Blondologist—one who studies blondes and their behaviors—Ashley is a Sola studio owner who co-owns Nest Studio in Richmond, Virginia. When she’s not in the salon, she is an educator for The Business of Balayage and is absolutely killing it on Instagram. Ashley is one of our 2018 Faces of Sola!

Follow Ashley Lewis on Instagram: @the_blondologist
Follow Sola on Instagram: @solasalonstudios
6 Ways To Sell More Holiday Salon Retail
6 November 2024 | Read More6 Tips for Pre-Booking Your Salon for the Holiday Season
17 September 2024 | Read MoreHow to Celebrate Small Business Saturday
4 November 2024 | Read MoreSola x NYFW 2024: Get the Looks
19 September 2024 | Read MoreHoliday Marketing Tips for Beauty Professionals
7 October 2024 | Read More
